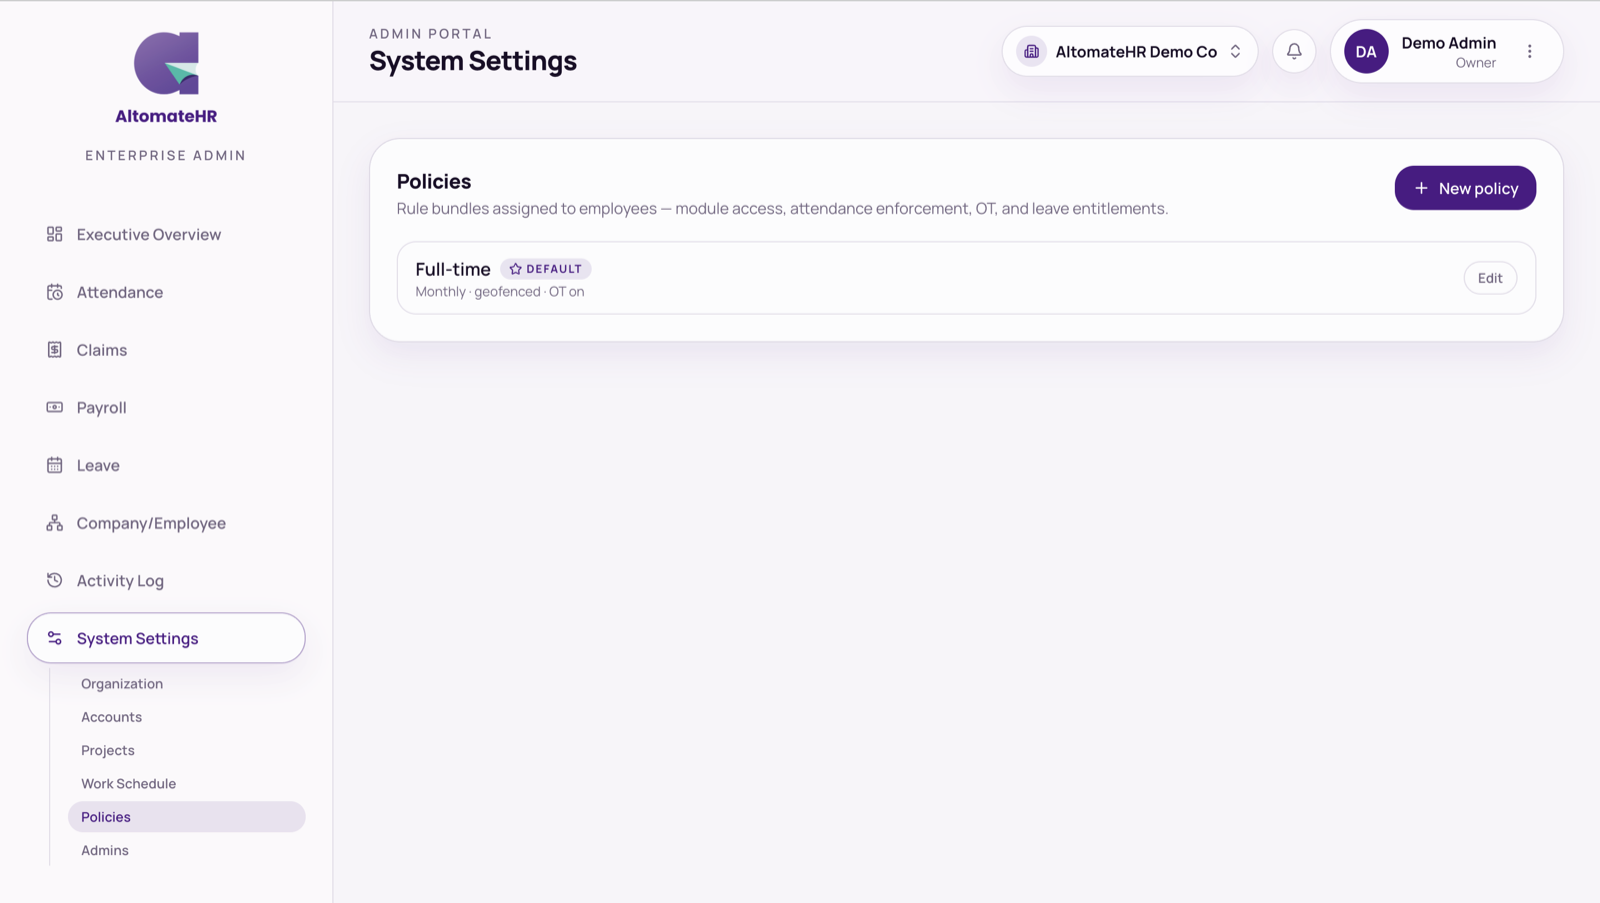

Your company is set up once in System Settings, then revisited when something changes. Work through the pages in this order.
Organization: name, logo and signatures
Organization holds your company name, the Company logo card, the Signatures card and the Xero connection card (see How to Connect AltomateHR to Xero).
Company logo
- Press Upload logo and choose a PNG, JPG or WebP picture up to 2 MB.
- The logo prints at the top left of your HR letters. Use Replace to change it or Remove to take it off.
Letters already made keep the logo they were made with.
Signatures
Save up to 10 signatures that HR letters can print above the signatory’s name.
- Press Add signature. Choose Draw to sign on screen, or Upload a PNG, JPG or WebP picture up to 1 MB (a dark signature on a white or transparent background prints best).
- Enter the signer’s Name and Position, then press Save signature.
- The first signature you add becomes the company default. Press Set as default on another to change it.
A saved signature is a picture: A saved signature is an image printed on the letter, like signing on paper and scanning it. It is not a certified digital signature. Only save a signature for someone who has agreed to it being printed on company letters.
Accounts
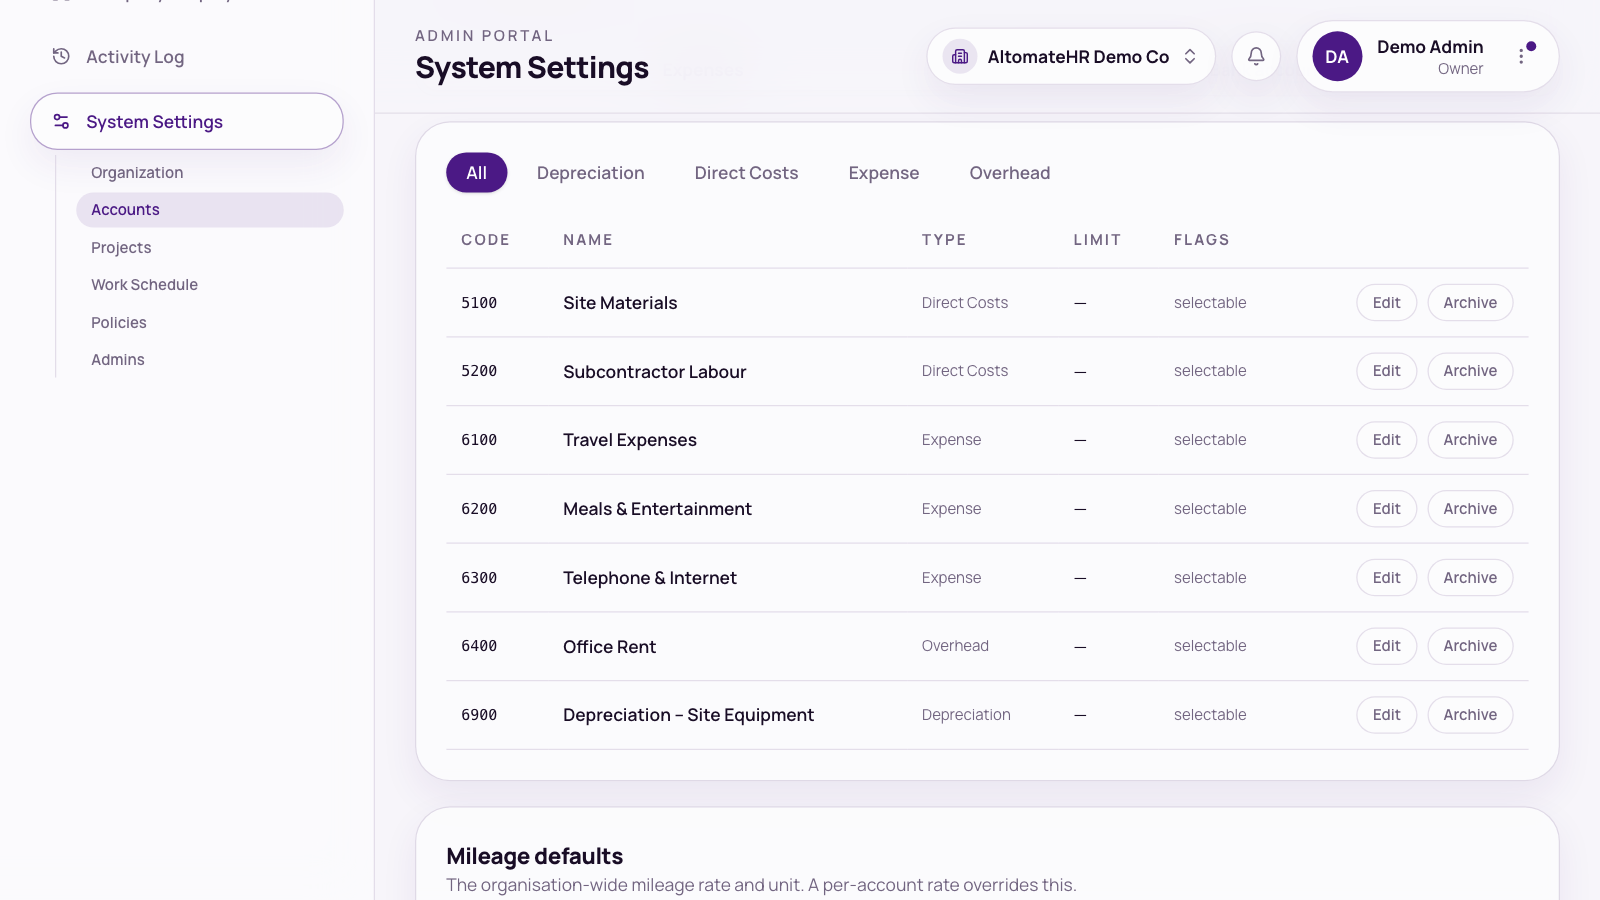
The chart of accounts, in two tabs:
- Expenses: what a claim is coded to. Each account can be Selectable for claims, carry a spend limit, and Allow mileage at its own rate.
- Bank accounts: what a company-paid claim was paid from. Tick Offer for company-paid claims on the ones employees can pick.
Below, Mileage defaults sets the company-wide rate and unit (km or miles). If Xero is connected, Xero owns this list: press Sync from Xero after changing it there.
Projects
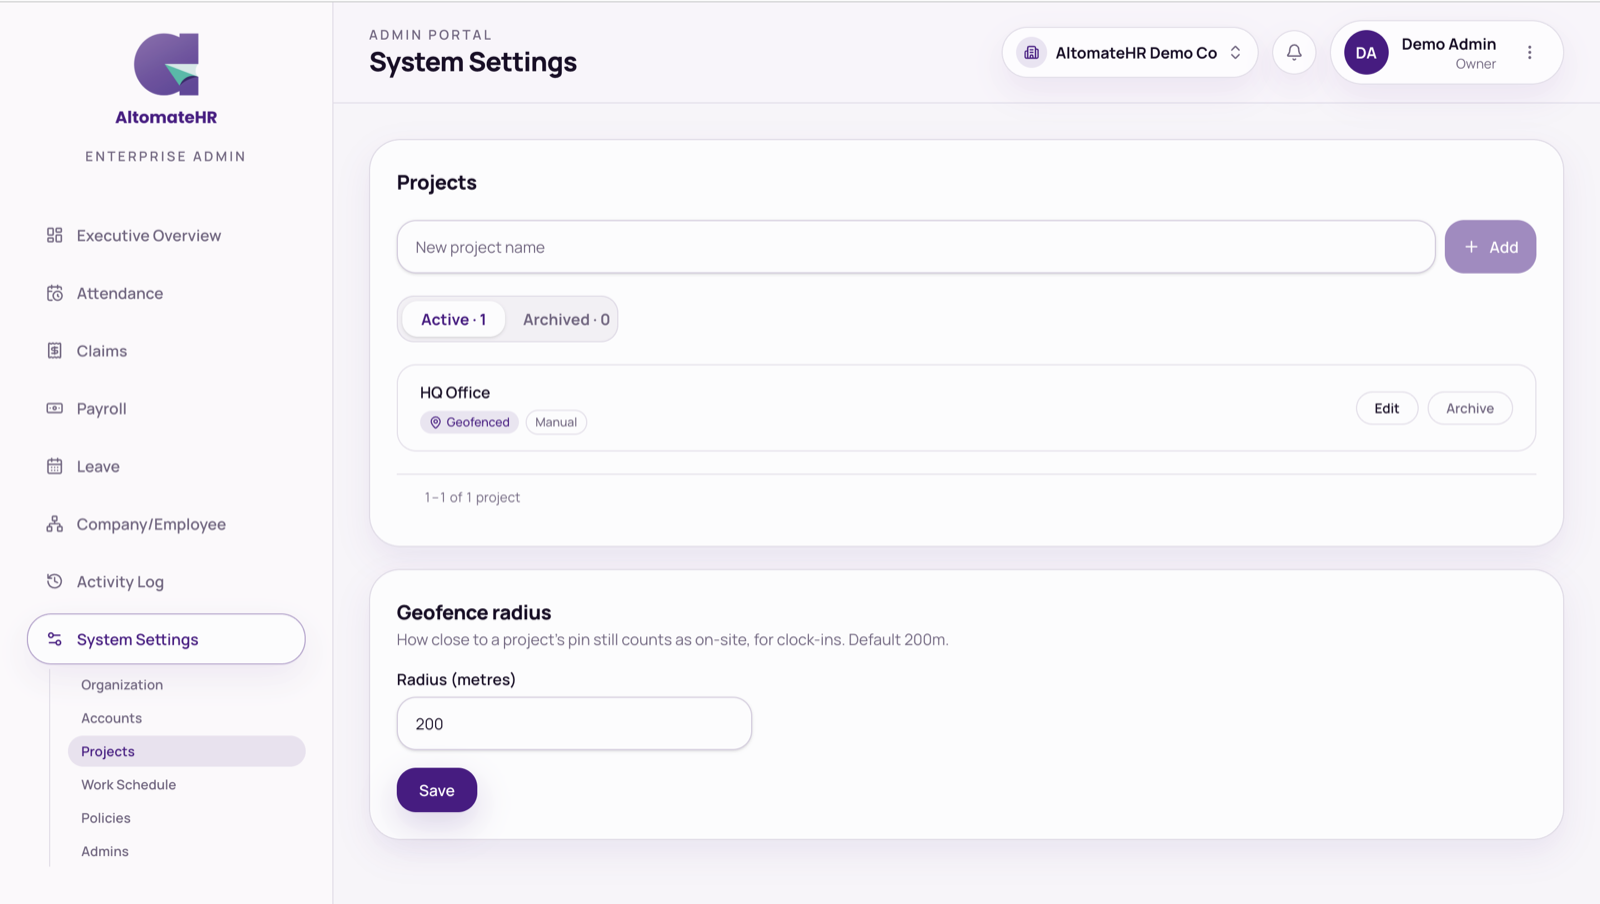
Projects are your work sites. Open a project with Edit to set:
- Geofenced sites: one or more locations. Use my location fills in where you’re standing.
- IP allowlist: office networks (Use my IP), checked only for employees whose policy requires it.
- Work schedule: hours and working days that override the company default for this site.
The Geofence radius card sets how close counts as on-site (200 m by default). Use the Archived tab to keep old sites out of the way.
Work Schedule
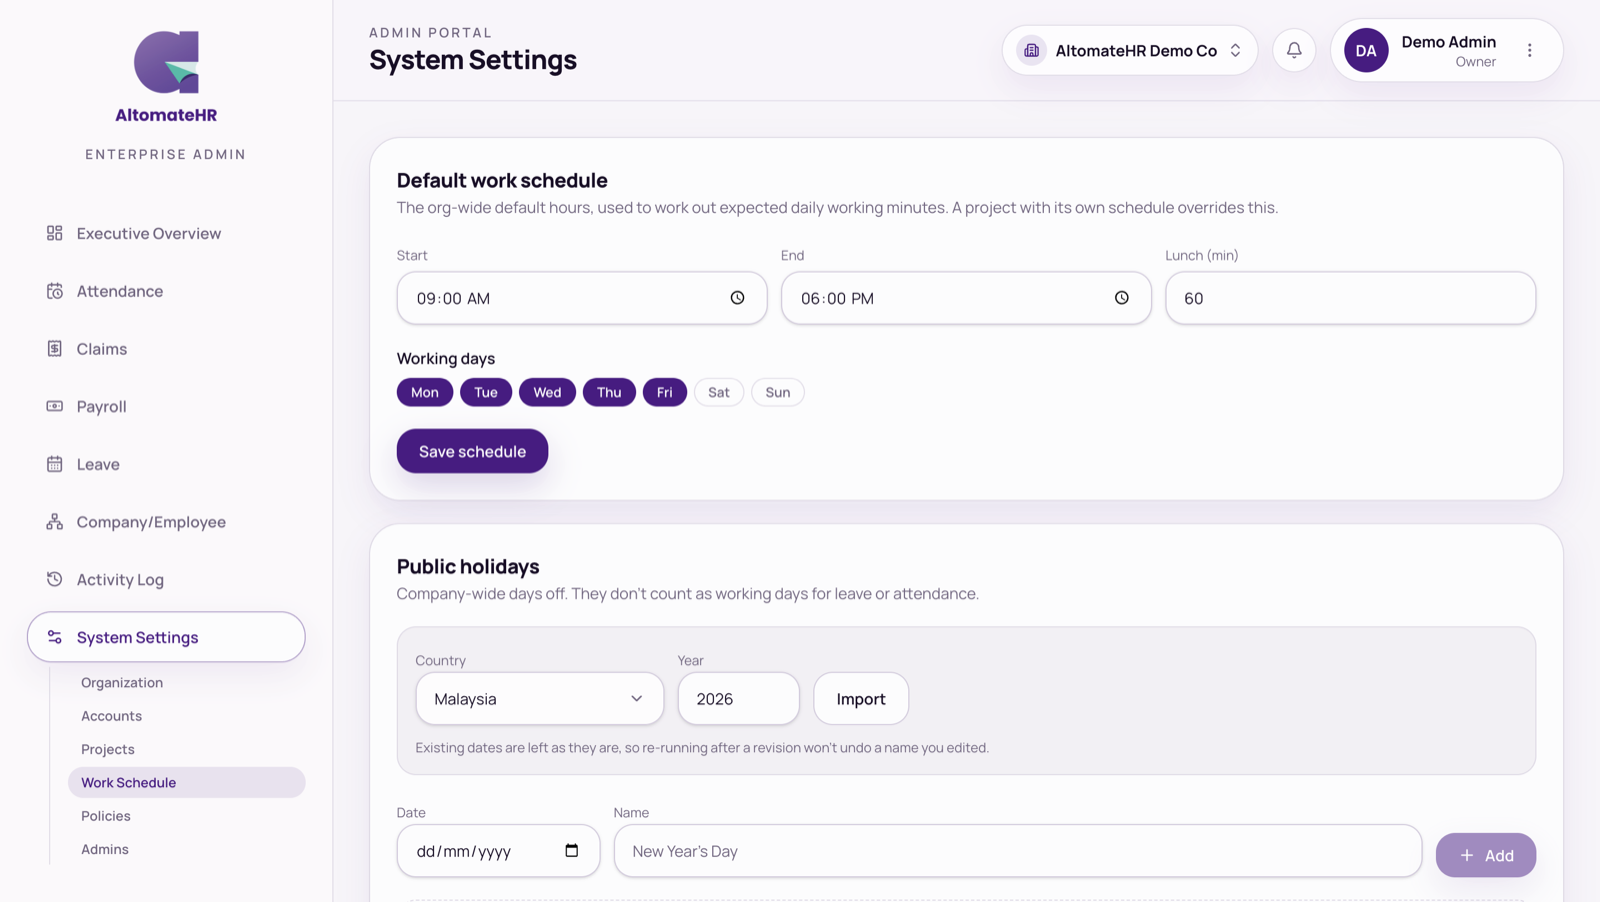
Set the company’s default hours and working days. For public holidays, pick a Country and Year and press Import, then add or remove any by hand.
Policies
Policies are reusable rules you assign to people instead of setting each person up one by one: which modules they can use, attendance checks (geofence, IP allowlist, location capture, auto clock-out), salary type, overtime method (cash or time bank), OT rates and leave entitlements.
One policy is marked Default. New hires get it unless you choose another.