How to Create a Help Center Article
How to add a help center post
1. Navigate to Dashboard. https://altomate.io/wp-admin/index.php

2. Click “Add Post”

3. Click “Add title” and type the title.

4. Click “Type / to choose a block” and start typing to add content.

5. To insert a h2 heading, simply type and mouse over the text.

6. Mouse over the text and click this icon.
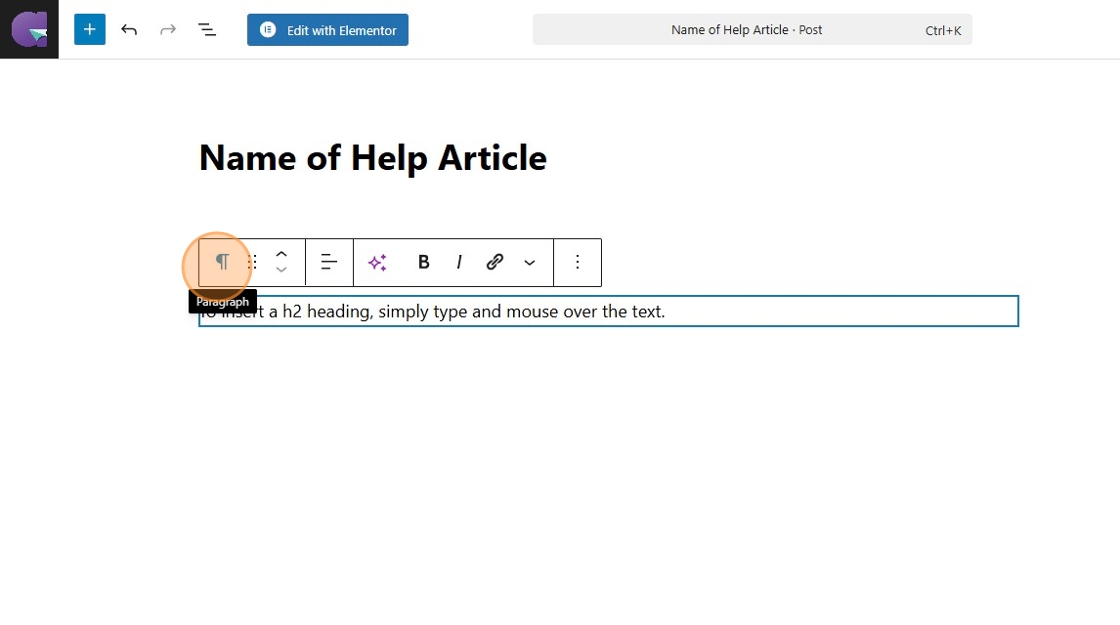
7. Click “Heading” to switch the block type from paragraph to heading.

Alert: Save your progress often by clicking on “Save draft”.
8. Click “Save draft”

Set category to “Help Center”
9. Click “Post”

10. Click the “Help Center” field.

11. Click “Save draft” to save changes.

How to preview
12. Click this icon.

13. Click “Preview in new tab”

Tip: If article does not appear in the Help Center, it means that the category has not been set. Please go to “Categories” > check “Help Center”.
How to publish the post to the public
14. When ready to publish,
15. Click “Publish”

16. Click “Publish”

How To Import a Scribe into a post
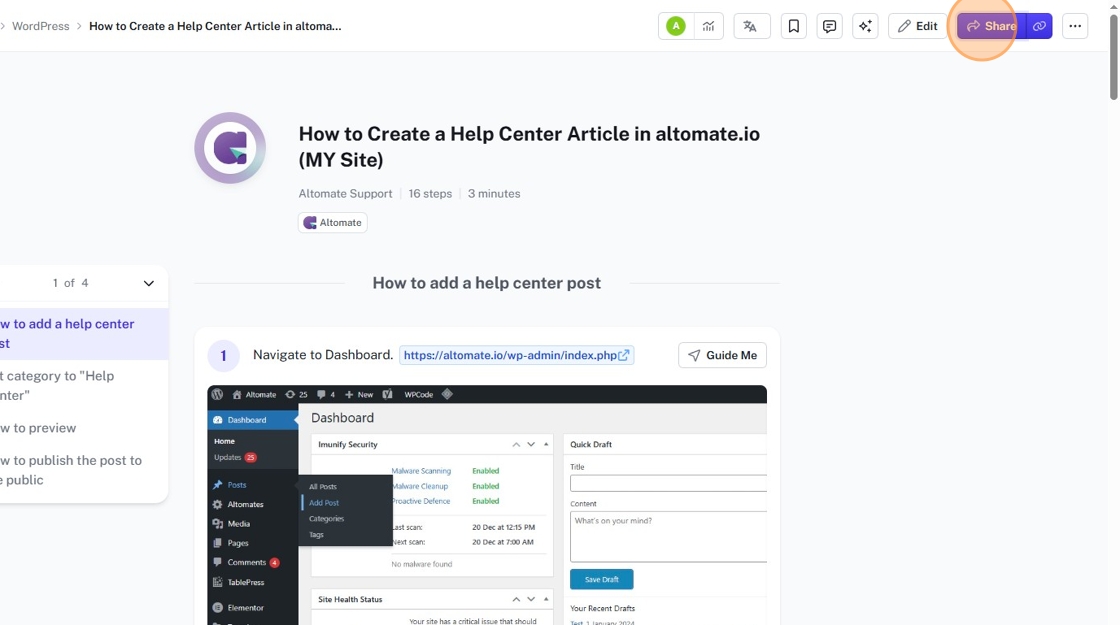
1. Navigate to https://scribehow.com/workspace

2. Click on the desired Scribe.

3. Click “Share”
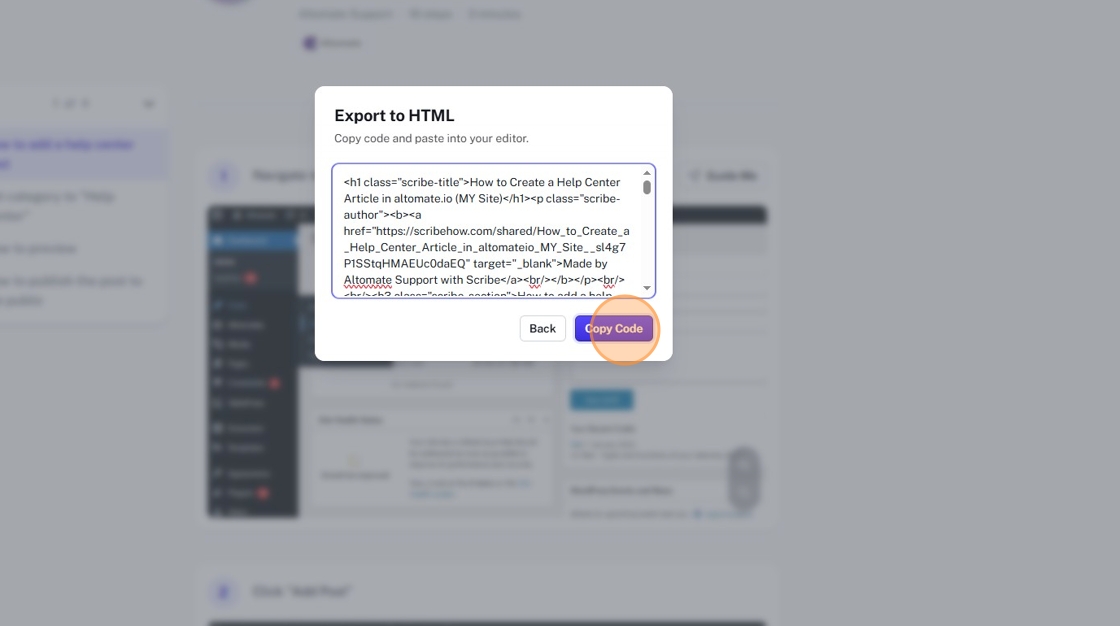
4. Click “Export”

5. Click “Copy Code”
6. Navigate to the post where you want to import the Scribe in.
7. Click this icon.

8. Click “Custon HTML” block.

9. Paste the code in the “Custom HTML” block.

10. Remove the “Made with Scribe” label that comes after the h1 tag. Here’s an example of what to remove(angle brackets have been replaced with square brackets for display purposes):
[p class=”scribe-author”][b][a href=”https://scribehow.com/shared/How_To_Import_a_Scribe_into_a_post__yASaCYdgTCy84pIRL5c7lw” target=”_blank”]Made by Altomate Support with Scribe[/a][br/][/b][/p][br/][br/]

11. Change the <h1>...</h1> in the code to <h2>...</h2>. Because the post title is already a h1, and there can only be one h1 per page.
12. Click “Save draft”

When ready to publish
13. Click “Publish”


